

Coming with the next release: the form asks for the payer first, lists the payer’s own ways to Search patient by, and shows CPT codes and a place of service only for payers that take them. The check page’s Results tab replaces Overview and Benefits, and a failed check can be fixed and run again on its own page. Until the release, the form and the check page work as before.
Quick Start
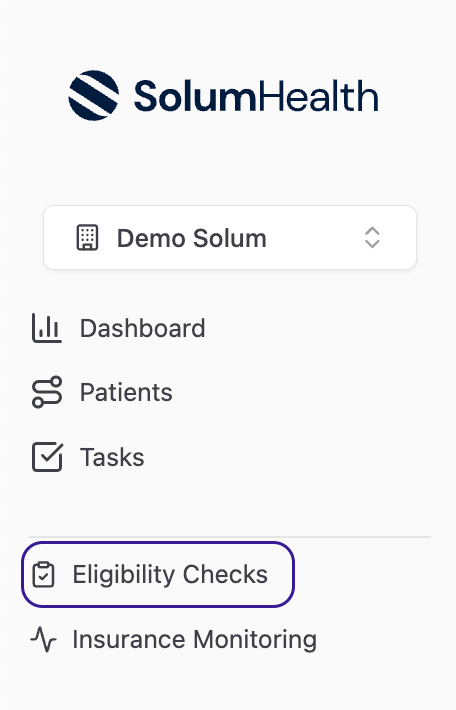
- Go to Eligibility Checks in the left menu.
- Click New Eligibility Check.
- Select the Insurance Payer.
- Enter your Provider NPI.
- Under Patient Information, pick how to Search patient by, then fill in those fields.
- Set the Date of Service and Service Type.
- Click Verify Insurance.
Step-by-Step
Opening a New Check
-
Go to the left menu and click Eligibility Checks.
-
Click the New Eligibility Check button in the top right corner.

Choosing the Payer
Coming with the next release. Until then, the payer comes after the patient’s details. If the patient already exists in Solum, use the Search existing patient bar at the top to find and pre-fill their details, including their payer.- Select the Insurance Payer from the dropdown.
Provider Information
- Enter your Provider NPI in the Provider Information section:
Your NPI is a 10-digit number. If you’re unsure which NPI to use, check with your billing team or contact support@getsolum.com.
Entering Patient Information
- Under Patient Information, pick how to Search patient by, then fill in its fields.
The fields of the chosen option are required and marked with a red asterisk. Only they are sent to the payer: until you pick an option yourself, the others stay on the form and say Not sent with this option.
Encounter Information
- Select the Date of Service.
- Select the Service Type from the dropdown.
For general health benefits, you can use Service Type 30. We recommend running only one service type at a time for the most accurate results.
Examples:
ABA: CF
Speech Therapy: AF
Occupational Therapy: AD
Physical Therapy: PT
Examples:
ABA: CF
Speech Therapy: AF
Occupational Therapy: AD
Physical Therapy: PT
- Optionally, add CPT codes and a Place of service, for payers that take them.
- CPT codes are hidden for payers that don’t answer per procedure, with a note to ask by service type instead.
- Place of service lists only the settings the payer takes. Some payers require one: then there’s no Payer default, and the check can’t run until you pick one.
When a payer answers procedure-level questions, the Results tab shows a section for each code (for example CPT 97155) with its authorization. When it doesn’t, a line above the services says the payer didn’t answer that code.
Running the Check
- Click the Verify Insurance button.
Reviewing Results
- Once the check is completed, you will see the eligibility results on screen. At the top, you will see whether the patient’s coverage is Active or Inactive.


Results Tab
Coming with the next release. Until then, the check page shows the Overview and Benefits tabs. The Results tab lays the payer’s answer out in the order you’d read it on the payer’s portal:
When the payer’s records differ from what you sent (for example a different spelling of the name), the member card says so. A Member ID the payer only writes with an added prefix or suffix counts as the same ID. When the payer marks an ID, name, date of birth or address in its records as different from what you sent, and the member card doesn’t already name the difference, Messages says so.
Plan maximums and deductibles — The plan’s coverage line comes first, with its plan and group numbers and dates when the payer sends them. Each kind of amount (Co-insurance, Annual deductible, Out of pocket) is one group of rows, in the order the payer sent them, with individual and family amounts side by side and what’s met and what remains for each; Unlimited and Limitations lines follow in their own boxes, then the plan’s benefit descriptions. A deductible or maximum the payer sends with no period and no balance (for example a $0 deductible) shows in a Deductibles box instead. The page opens on In network when the payer sent both in- and out-of-network amounts, and on All networks otherwise; the filter applies here and to every service. Only networks the payer sent amounts for get a button, and amounts the payer sent without a network always show. When a plan has tiers, each amount shows its Plan network name and Plan network ID (for example OMNIA Tier 1 and 1).
Benefits by service — Each service opens to show its status, its deductibles and maximums, a table with Co-insurance, Co-pay, Benefit deductible, Limitations and Authorization for each network and coverage level (grouped by place of service, individual before family), and then the payer’s boxes for that service: Non covered, Unlimited, amounts that fit no column (such as Cost Containment), Benefit descriptions and Service level contact information. Benefit deductible shows the service’s own deductible (what remains, then the total), or Refer to: Health Benefit Plan Coverage (a link to the plan’s) when the payer sent none for the service; Limitations reads the same way, for example 30 visits remaining, 30 visits per calendar year. When the payer only confirmed a service’s coverage because you checked another service type, the service says so and offers Search for that service, which opens a new check on that service alone (the original check stays as it is). A summary on each service shows whether authorization is required and whether the service isn’t covered. Click Expand all to open every service at once.
Procedure code information — When you asked about CPT codes, each code the payer answered has its own open section, named with the code and what it is (for example 97161 - PT evaluation, low complexity), laid out like a service. A code the payer didn’t answer gets a line instead: no answer doesn’t mean no authorization is needed.
Raw Request and Raw Response
Raw request shows exactly what was sent to the payer, and Raw response everything the payer sent back. Use them when a detail you need isn’t in Results, or when Solum support asks for them.Matching Results to a Patient
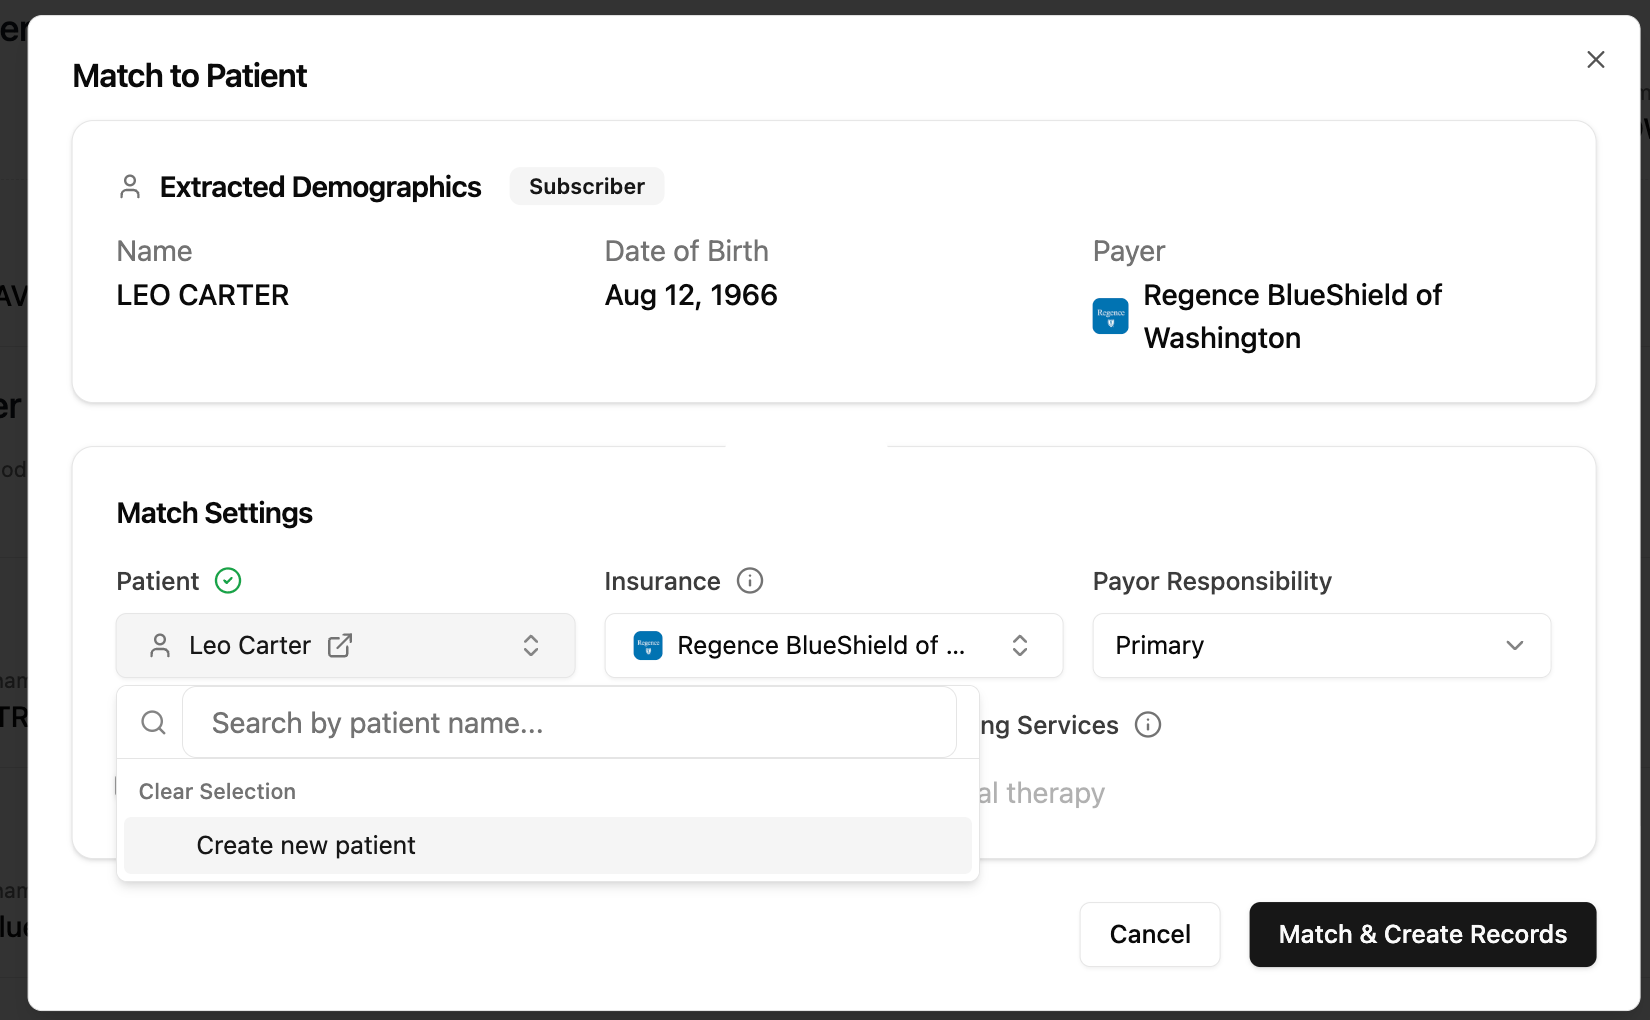
- Click Match to Patient at the top of the results page.
- Review the insurance information. You can adjust it if needed, or click Create New Insurance Automatically to use the details returned by the payer.
- Confirm the Payor Responsibility (Primary, Secondary, or Tertiary).
- Coming with the next release: check Request a VOB after matching if Solum should also verify this insurance’s benefits. It starts checked when your clinic’s default is on (Settings → Eligibility → Request a VOB after each eligibility match).
-
Click Match & Create Records, or Match & continue to VOB when the box is checked. With the box checked, the match is saved first and the VOB request then opens for the insurance you just matched: review its services and click Create VOB, or click Finish without VOB.
After Matching
- Go to Patients in the left menu and search for the patient.
- Click on the patient profile, then open the Policies tab and select the policy you matched.
Coming with the next release.