
All insurance monitoring batches are run under Service Type 30 — General Health. This is the standard service type used for all batch eligibility checks.
Quick Start
- Go to Insurance Monitoring in the left menu.
- Click the batch you want to review.
- Check the summary at the top: Active, Inactive, and Failed totals.
- Click any status card to filter to those patients.
- Use More Filters → Comments → Have Comments to review troubleshot patients.
- For failed patients, click … → View Eligibility → Edit and Retry to correct and re-run.
Step-by-Step
Step 1 — Navigate to the Batch
- In the left side menu, click Insurance Monitoring.
- Click the batch you want to review.
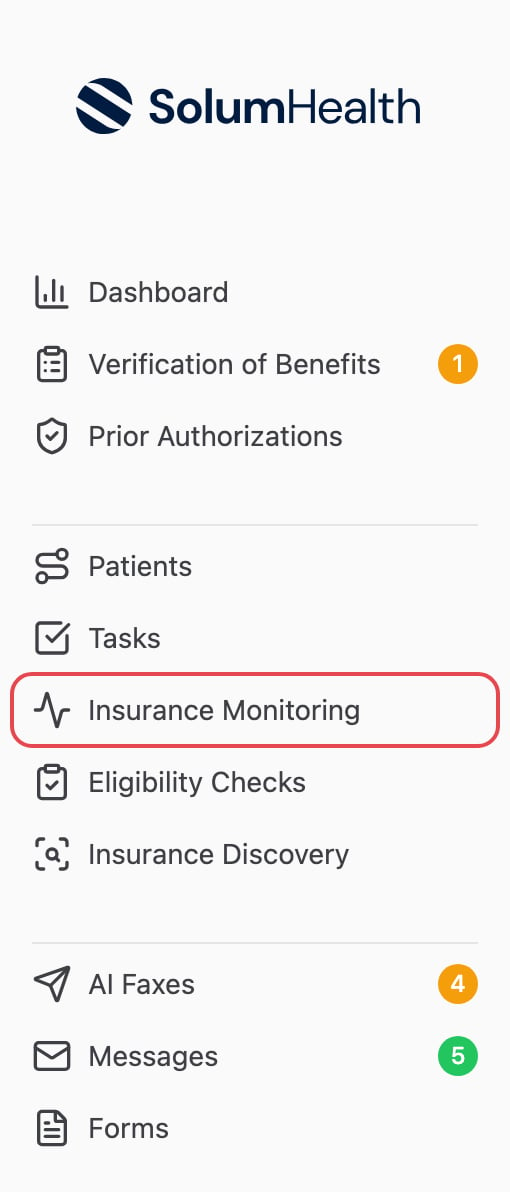
Coming with the next release. Until then, hover over Insurance Monitoring in the left menu and select Batches.
Step 2 — Review the Summary
At the top of the batch page, you will see a summary row showing the total number of checks broken down by status.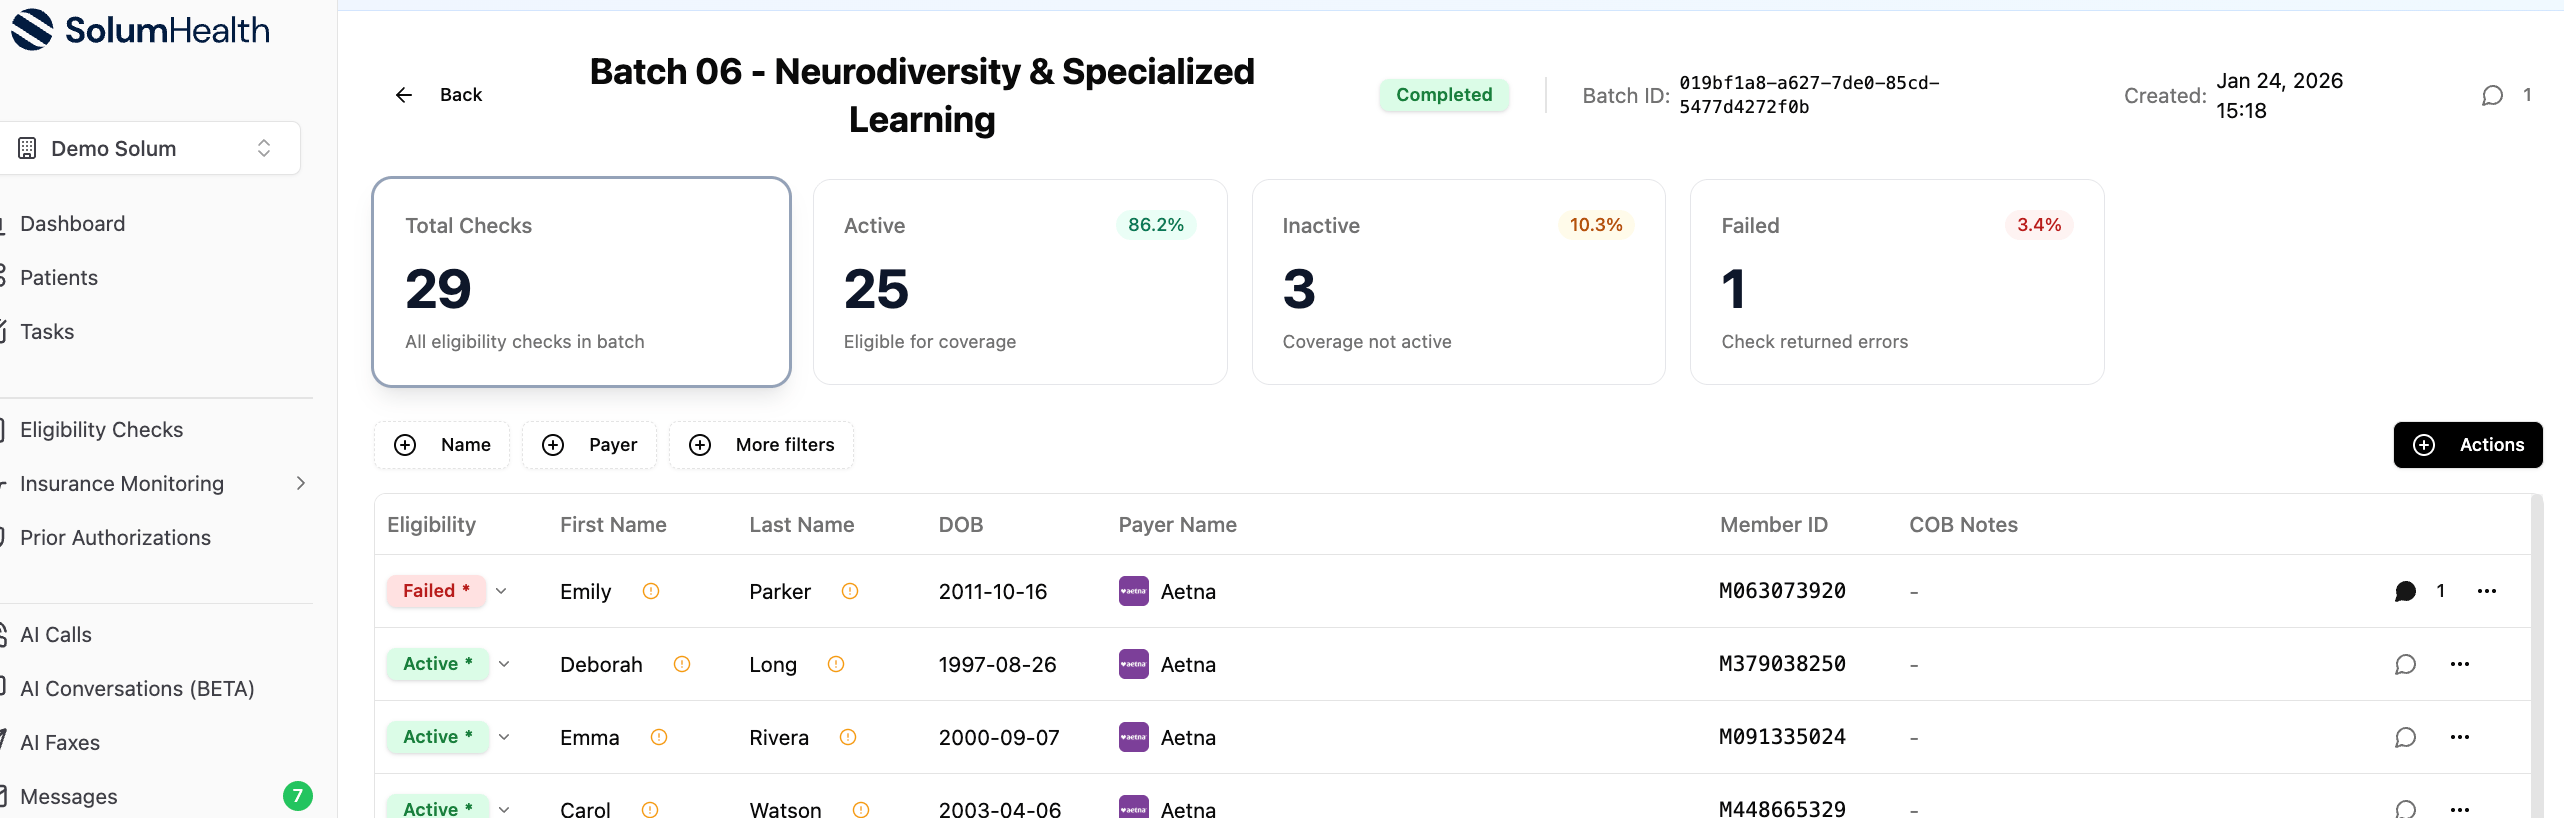
The summary row at the top of the batch — click any card to filter directly to those patients.
Click any card to jump directly to that group of patients.
Click any card to jump directly to that group of patients.
Step 3 — Understand the Statuses
Step 4 — Review Comments
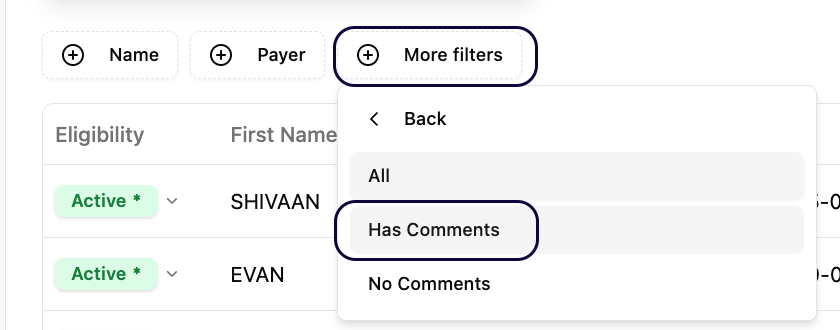
In some cases, Solum is able to identify and fix issues (such as a name mismatch or incorrect Member ID) and will leave a comment explaining what was found and how the patient ended up as Active. To review commented patients:- Click More Filters.
- Select Comments.
- Choose Have Comments.
- Click the black bubble on the left of any patient row to read the comment.
Step 5 — Understand the Yellow Icon
A yellow icon next to a patient means that what was submitted does not exactly match what the payer has on file. Click on the patient to review the payer’s response and see what differs.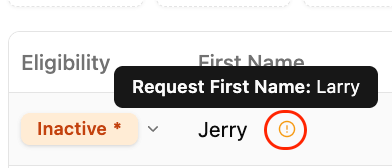
Step 6 — Understand the Columns
Some Anthem plans must be run under the local Anthem payer ID (not a national ID) to return results. Similarly, some Medicaid patients must be run under straight Medicaid — not the MCO — to get a valid response. If a check fails for these payers, review the payer ID first.
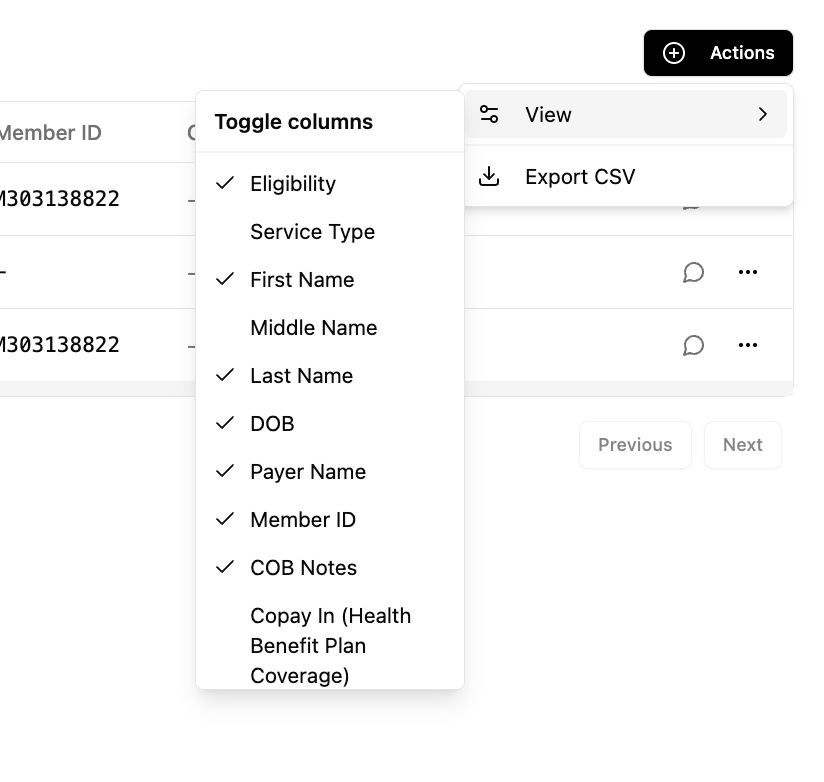
Step 7 — Add Additional Columns
If you want more detail on a batch, you can customize the columns shown.- Click Actions.
- Select View.
- Enable any additional columns you need.
Step 8 — Review a Specific Patient
To open an individual patient’s eligibility detail:- Click anywhere on the patient row, or
- Click the … menu on the right and select View Eligibility.
Reviewing Failed Patients
Step 1 — Filter to Failed
Click the Failed card in the summary to show only failed checks.Step 2 — Open the Check
Find the patient, click the … menu on the right, and select View Eligibility.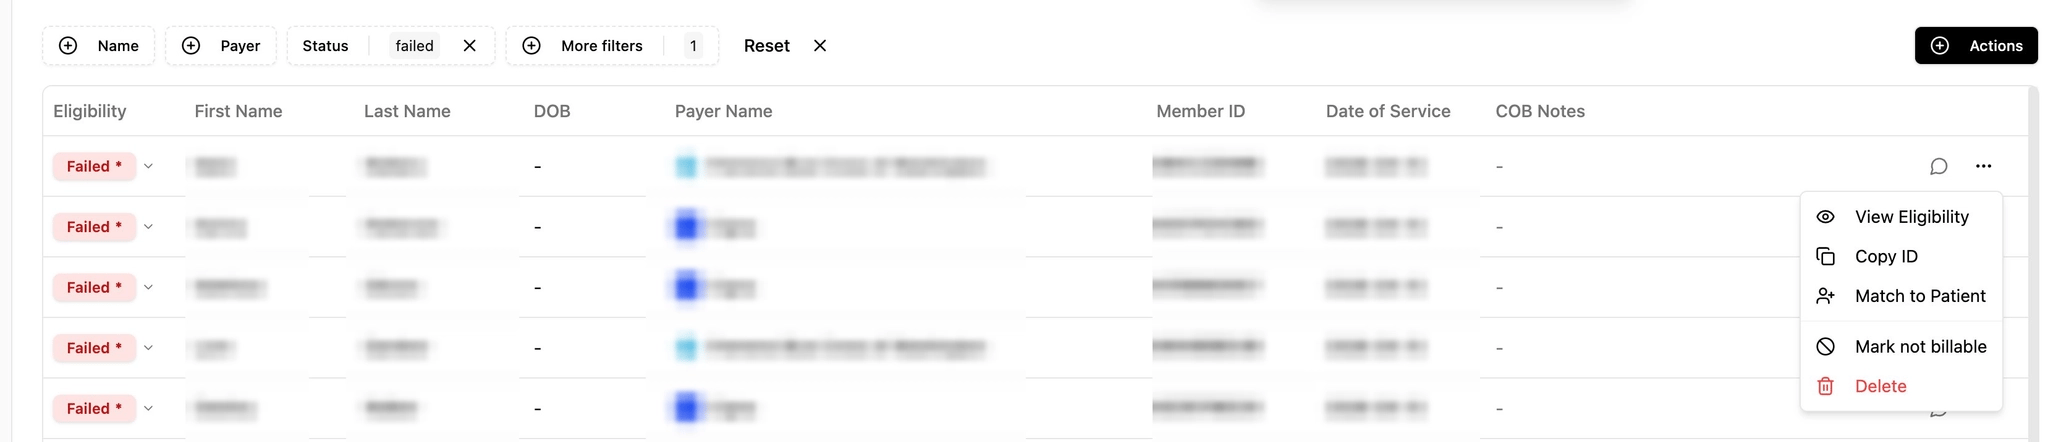
Step 3 — Edit and Retry
On the Eligibility Check detail page, click Edit and Retry.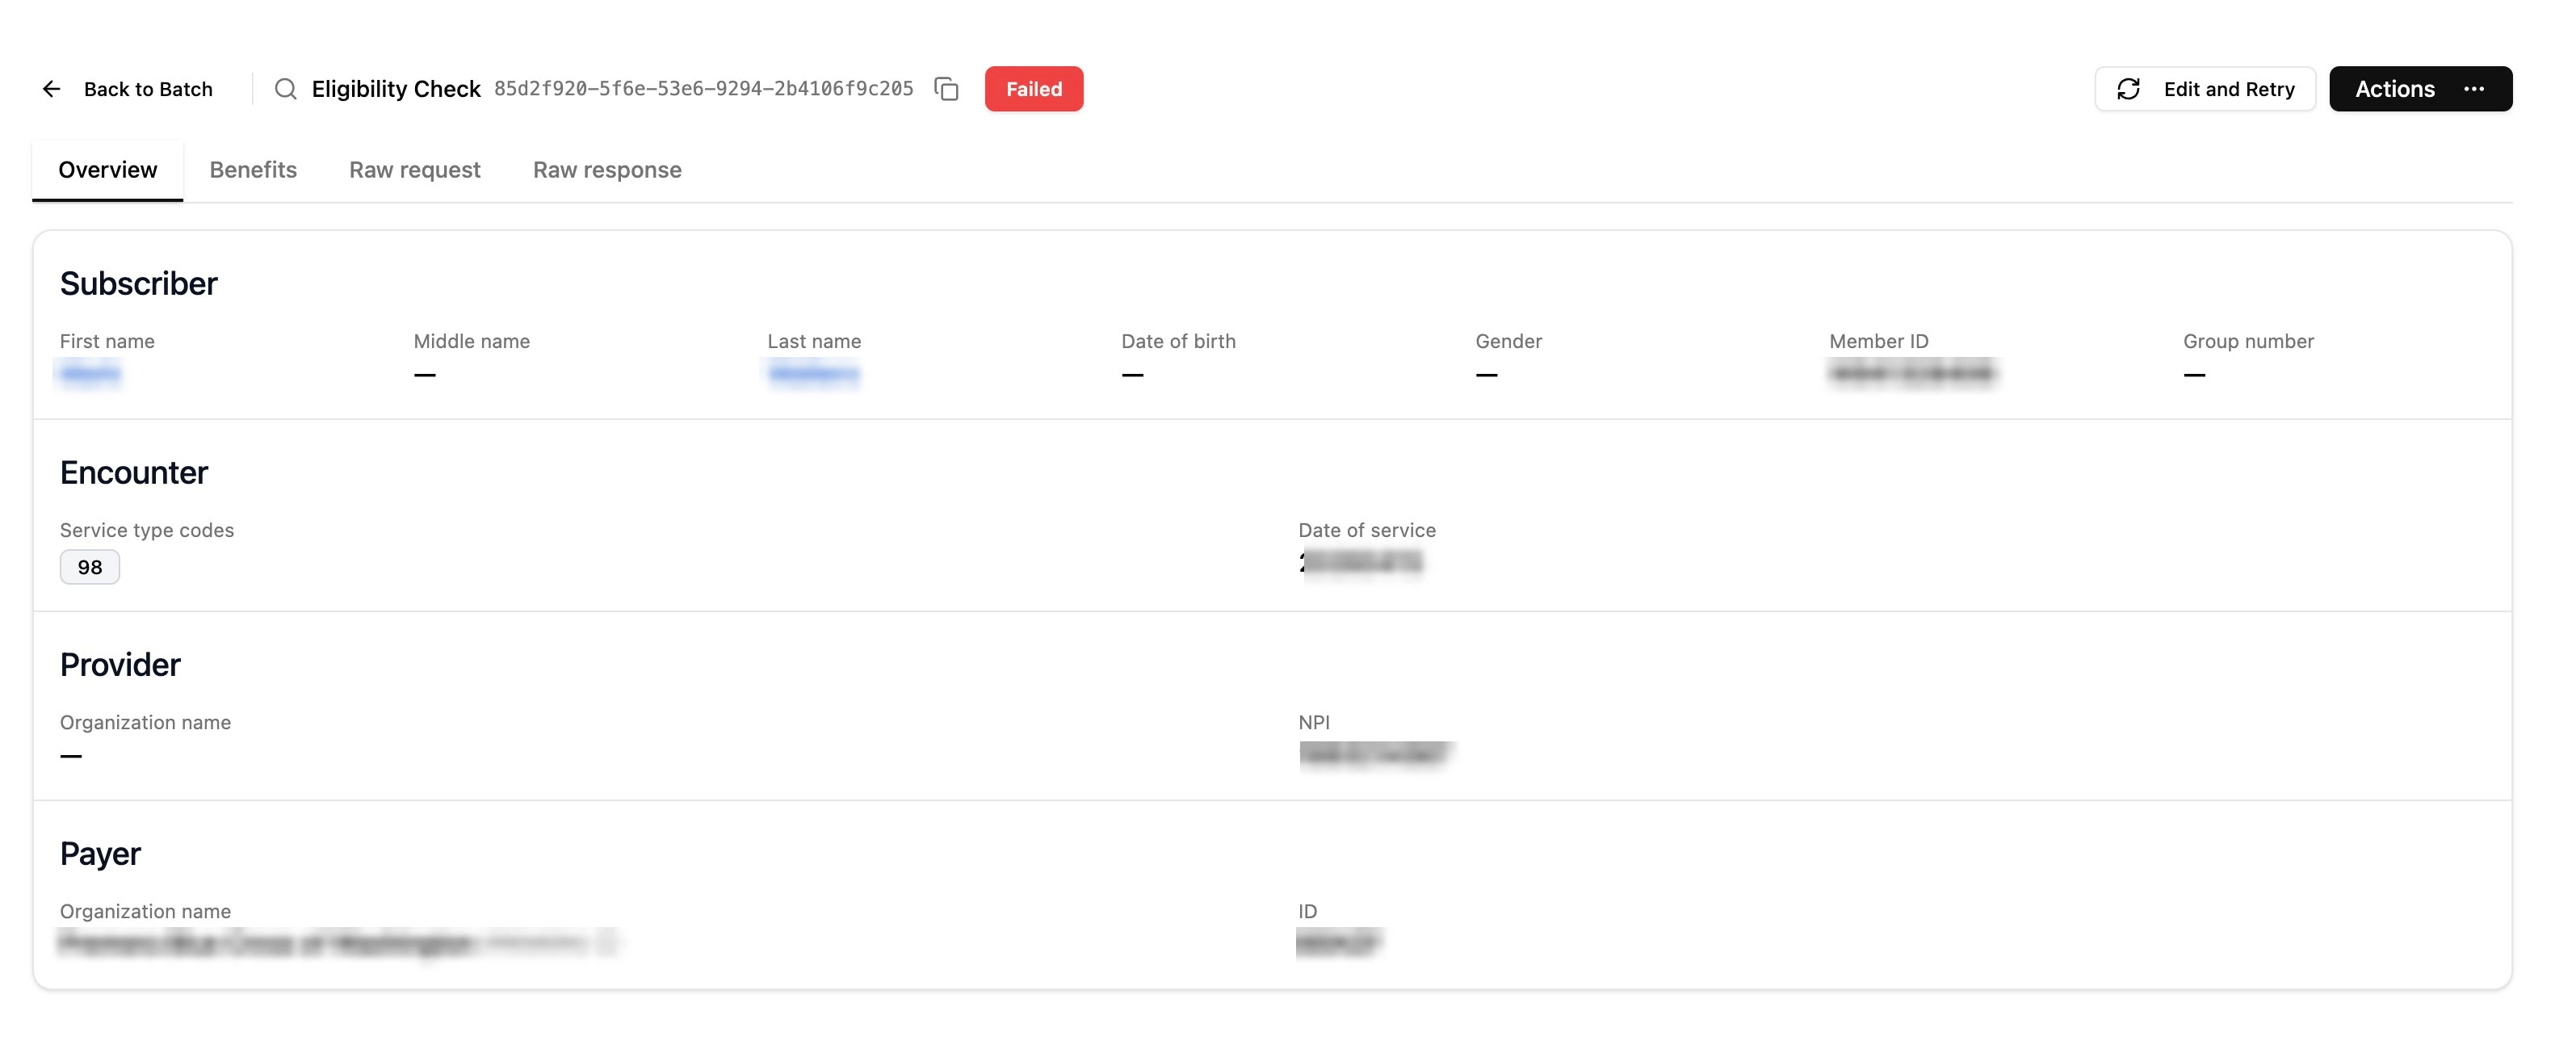
Step 4 — Correct and Re-run
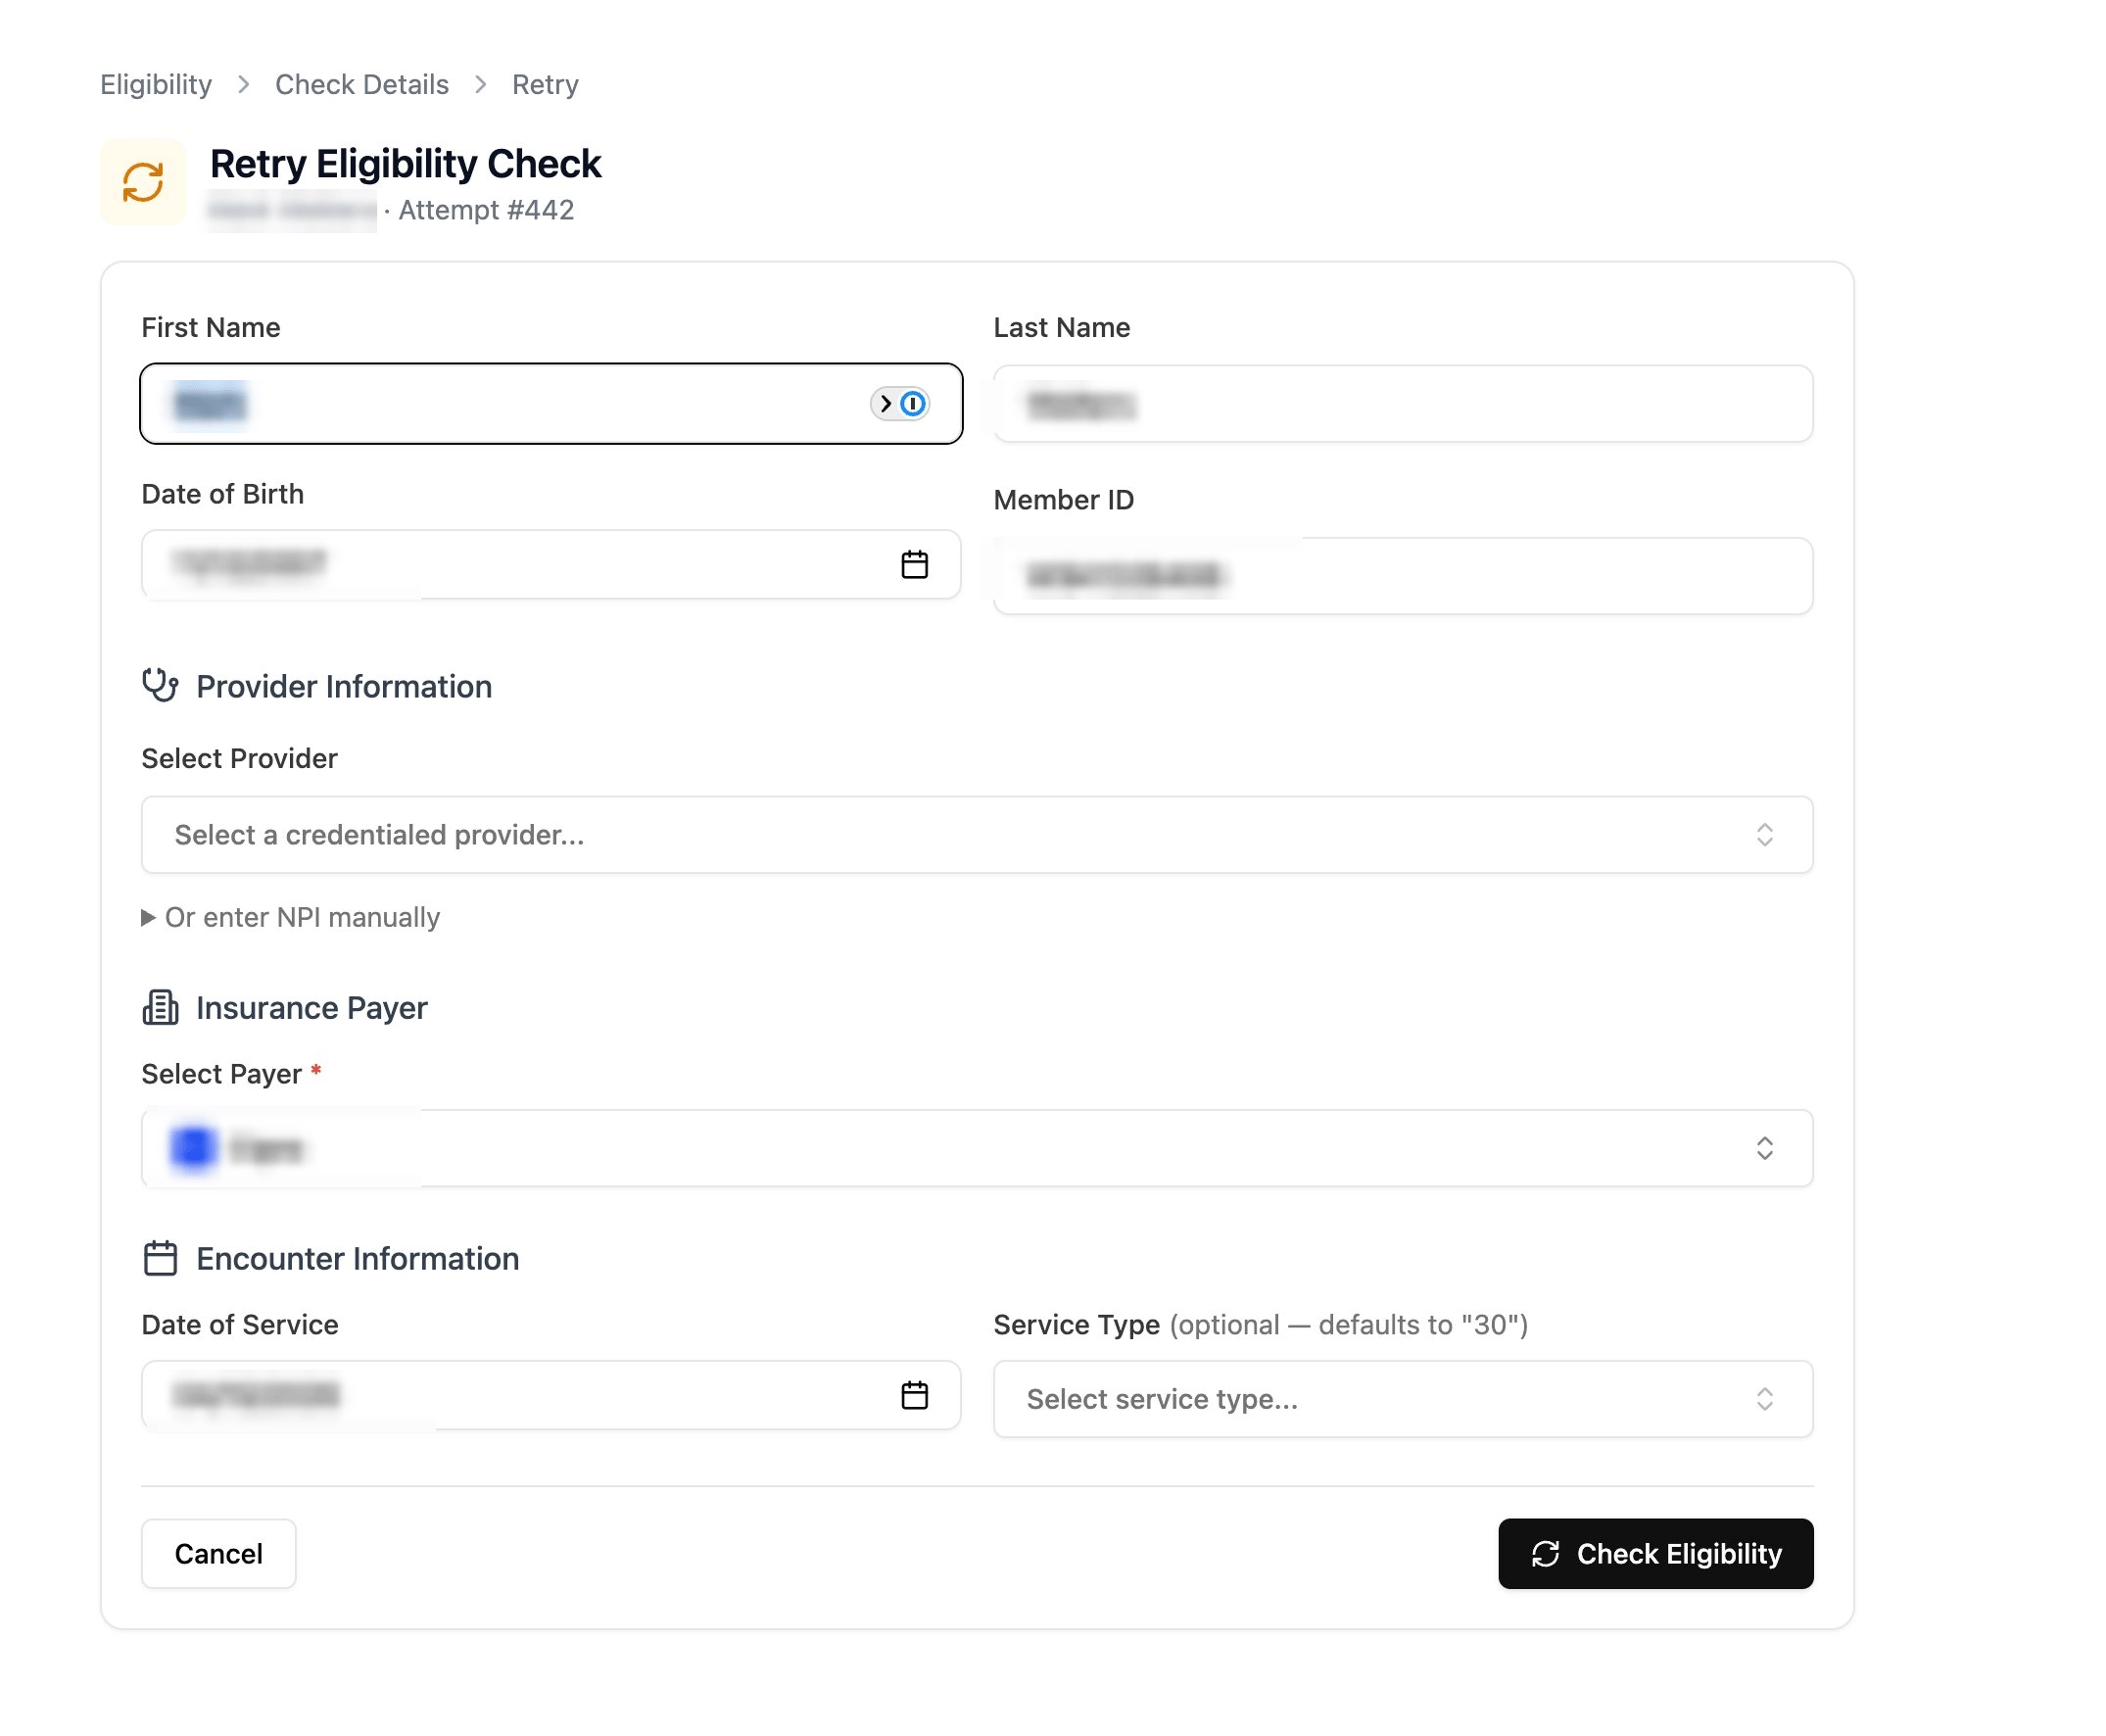
On the Retry Eligibility Check form, fix the field that caused the error. The most common issues are:- Member ID — incorrect or formatted differently than the payer expects
- Date of Birth — mismatch with payer records
- Insurance Payer — wrong payer ID selected
- Date of Service — outside the payer’s accepted range